Mocking endpoints granularly in Angular
Introduction
At $WORK the frontend team usually develops against the real backend (exposed internally), since running the backend locally involves some additional setup (and resources, such as RAM).
The normal flows goes as follows:
- Backend developers start implementing the feature
- Frontend devs start working on the feature only after the backend is finished
Which works fine most of the time. However, sometimes a feature is being developed in parallel, so the frontend crew doesn’t have an API to code against!
The suggestion is to mock until backend is finished, but where to mock?
- a) Component level
- b) Service level
- c) Store (NGRX/Redux) level
- d) Server level?
a), b) and c) are just variations of the same solution (as in they all involve modifying the code). They all work fine. Here’s an example of a Data Service:
| |
It feels dirty.
After implementing the feature, it’s easy to forget to remove that mocked code and uncomment the real one (I’ve been guilty of that myself).
Also, it doesn’t scale very well. Let’s say you want to mock just a specific Person:
(for example, the endpoint already exists, but it will soon return more fields, such as address, date of birth etc. So you want to validate both versions work, progressively enhancing the UI):
| |
Following a different approach, mocking at server level (option d) provides a nice boundary. The idea is to create an HTTP Server and forward traffic to it, instead of the original server.
The advantages are:
- Clear boundary. When the backend if finished it’s not necessary to change any application code.
- Granularity. It’s possible to override only a single endpoint (
/foo/1for example). - Straightforward setup in Angular, since it uses Webpack which ships with http-proxy-middleware.
- You may already using a local proxy.
Let’s go over an example to showcase how it would work in a real project.
Use case
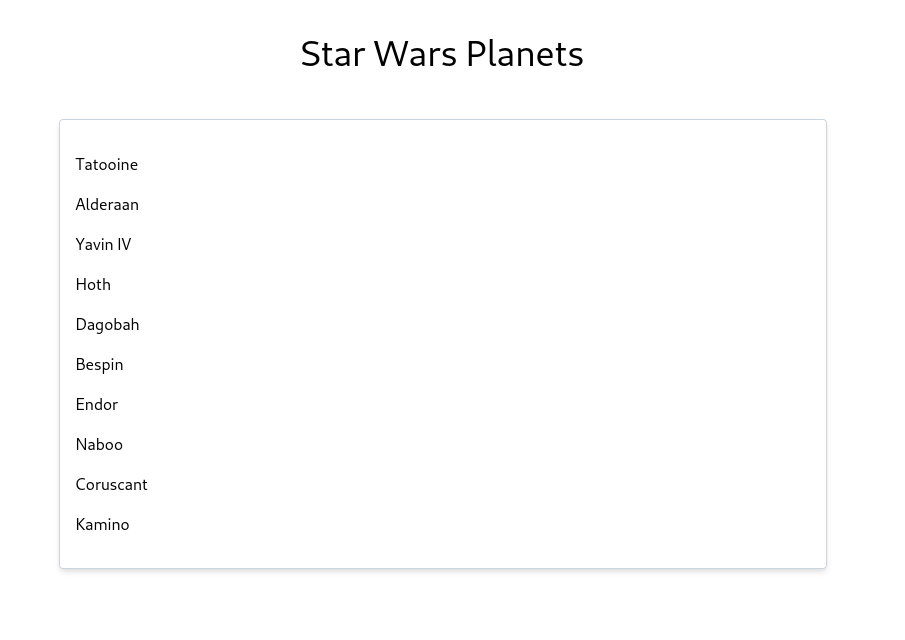
Consider we are developing a simple UI to display Star Wars planets, using the Star Wars API.
We will display a (paginated) list of Planets. Let’s start with a Data Service:
| |
And the types:
| |
The API actually brings more resources, but let’s ignore for the sake of the example.
The first question to arise is “what URL to hit”? Technically, we know we are going to use https://swapi.dev/api/planets, since it’s a static API. But normally you have different environments with different URLs, for example: https://staging.my-website.com, https://dev.my-website.com. One pattern people use is to inject an API URL at build time, which in my opinion is not a good approach since it assumes you know where your code is going to be deployed, and also requires another build to deploy to a different environment, as opposed to simply redeploying the same artifact. It’s also a violation of the 12-factor principles.
What to do then? My approach has been to always hit a relative URL (for example, /api), which can be set at the reverse proxy level. In nginx, would be something along these lines:
| |
However, if our service hits http://localhost:4200/api/planets, it will end up hitting the internal server with the Angular application itself, which doesn’t know how to handle /api/planets.
We need a proxy here to redirect all /api requests to somewhere else. Let’s create a proxy file named src/proxy.conf.js.
And update the Angular CLI configuration to use it (in the angular.json file):
| |
Or optionally, update package.json:
| |
I personally recommend updating the angular.json file which is cleaner.
Another option is to simply not update anywhere and run the command yourself:
| |
In the case you are likely to be the only one using the proxy.
A quick detour
Obs.: the -- is necessary to indicate to npm that the subsequent arguments are to be passed down to ng serve and are not npm arguments.
To illustrate this issue, let’s compare two examples.
Given a package.json with:
| |
Running npm run foo -- --silent returns:
| |
Whereas running npm run foo --silent returns just:
| |
The difference is that in the first case --silent is being passed as an argument to echo, where in the second case it’s passed as an argument to npm itself.
By the way, that’s a POSIX thing, not strict to npm:
Guideline 10: The first – argument that is not an option-argument should be accepted as a delimiter indicating the end of options. Any following arguments should be treated as operands, even if they begin with the ‘-’ character.
Using the proxy
Now it’s a matter of telling the proxy that anything that hits /api should be forwarded to https://swapi.dev/api/.
In your proxy.conf.js:
| |
I recommend using logLevel: "debug" at least in the beginning to see it working in your terminal. Here’s an example:
| |
(Don’t forget to restart your Angular server every time proxy.conf.js changes!)
That is fine and can serve you for a long time.
Then a new requirement comes up: when clicking on a planet, there should be a card displaying more information about that planet.
The backend folks are working on it, but the frontend dev would like to work in parallel. In a quick agreement, it’s been decided that the endpoint will be /api/planets/:planetId and a sample response is:
| |
(Obs: this is a fake requirement, since the real Star Wars API already returns these fields in the /api/planets call).
Introducing json-server
json-server is a fake REST API server written in Node.js that really shines in cases like this. We can use our proxy to point to json-server instead of the real thing!
First, we need to install it:
| |
As opposed to the official documentation, I prefer to install locally, per project, so it’s easy to track down the version and supposedly gives anyone the ability to get up and running quickly with a simple npm install, without having to install any tool globally.
Set it up in your package.json:
| |
And run npm run db, which will start json-server under port 3000, and will serve anything that’s in the db.json file.
In our case, we want to serve a fake planet. Let’s create a file db.json with the following content:
| |
So if you hit http://localhost:3000/planets/1 it will return response above.
Amazing, now we just need to set up our proxy to use that planet instead of hitting the real server (which hasn’t implemented the endpoint yet!)
Update your proxy.conf.js with this new item:
| |
Which will map
| |
So now, planet 1 (Tatooine) would work. Let’s update our service to fetch information about that Planet:
First, create the type:
| |
This creates a type DetailedPlanet, which is the sum of all fields from Planet + the fields defined above. The code is equivalent to
| |
And then, create the method:
| |
But if you have paid attention, there’s an url field we can use:
| |
Wait, p.url? What’s that?
You are probably familiar with REST (REpresentational State Transfer), but what you may not know it’s REST also has a “Maturity Levels” specification, which means your API can be more or less RESTful compared to others.
What matters to us is that Level 3 refers to the ugly acronym HATEOAS (Hypertext As the Engine of Application State), which, to simply put, makes your APIs traverseable, as if they were webpages themselves, where you get to other pages by accessing links.
In that case, p.url is a link to the planet resource itself (/api/planets/1). What’s cool here is that the server is smart enough to realize where the request is coming from and rewrite the response. So if the request comes from curl, it will return "url": "http://swapi.dev/api/planets/1/", but if it comes from http://localhost:4200 (where our Angular server is located), it returns "url": "http://localhost:4200/api/planets/1/".
In the case above, there’s no functional difference. But technically, by using the link, we empower the server to tell us where to look next. Imagine they are reimplementing the API using a different language, and they change the url response from https://swapi.dev/api/planets/1 to be https://beta.dev/api/planets/1. Our application would work just fine.
Now, let’s quickly implement that.
In the HTML:
| |
In the component:
| |
And now displaying that loaded planet (don’t mind the classes, they come from ):
| |
(Keep in mind this is an over-simplification, the real code would deal with errors, loading state etc.)
That works, but just for Planet 1 (as per proxy.conf.js). What if want ALL planets to work for now?
Thankfully the proxy supports a custom function, so instead of fiddling with regexes, we can simply return a custom string:
| |
Now every request will be redirected to our mocked planet 1:
| |
As it’s just a function, you can have some logic such as redirecting to /planets/1 if it’s odd, and /planets/2 if it’s even. Or redirecting the first 10 planets to mocked versions (updated in db.json), and fallback to /planet/1 for the other planets. The sky is the limit.
The end
Now it’s where the solution shines. Once the backend is implemented and deployed, it’s just a matter of deleting the rules from the proxy, and not having to mess up with the application code.
Now that you know the existence of the proxy, feel free to explore the documentation and try new ideas:
- Even though Angular compilation is faster (as of Angular 9/10), it’s quicker to change the JSON file. For example, one would want to quickly check how the UI looks like when receiving different values (a long string, a large number etc.)
- Mocking the whole happy path instead of hitting the real server over the network can save you some minutes. In our case, we could mock the entire
/api/planets
Also, let’s not forget the caveats.
Caveats
- It requires restarting the Angular server, which may become boring, specially when first getting familiar with the setup.
- It requires running two processes (the Angular server +
json-server). - Low latency may hide some issues in your application which would happen in the real world. For example, there’s a delay between clicking on an item and making it selected:
Bonus
I’ve lied to you. Hitting https://swapi.dev/api/planets/ actually returns
| |
The problem here is it returns a few more fields (count, next, previous and results). Where if you used json-server, it wouldn’t return those!
So if you ever want to mock something like that, you can
- Write your own server on top of
json-server - Write a custom route
To write a custom route, create a routes.json file:
| |
Update json-server to use that file:
| |
Now when hitting http://localhost:3000/api/planets, you gonna get:
| |
Obs.: don’t forget to update the url manually to point to your application, if you are using HATEOAS.
Conclusion
This post illustrates many concepts, the main being how to use http-proxy-middleware and json-server to mock individual routes for your Angular application.
As always, source code can be found in the blog repository.
References
- Richardson Maturiy Model - https://martinfowler.com/articles/richardsonMaturityModel.html
- Http Proxy Middleware - https://github.com/chimurai/http-proxy-middleware